Ask any professional, tradesman, artist, or handcrafter... having the right tools for the job really makes all the difference. One of my most asked questions about my applique, is "how do you get the edges so crisp?"... simple, by having the right tools. I've shared a lot about my favorite starches, irons, paintbrushes,etc. for the starch applique method (found here), but one important tool that is not to be overlooked is a proper pressing board.

While one could argue that a regular ironing board works just as well, let me explain why I use a pressing board instead:
- A really hard surface, combined with the proper starch and a high heat mini iron, really IS what gives the desired clean and crisp edge.
- The high heat of the iron and the spray starch have a tendency to slightly "burn" and brown your work surface over time and high use.
- With that being said, it saves your regular ironing board cover having to be frequently replaced.
- Re-covering a pressing board after it's been soiled is a breeze!
- Lastly, it's small and easy to transport.
- Cotton Canvas 16 x 20 inches. (ca. 40 x 50 cm)
- Cotton Batting 16 x 20 inches. (ca.40 x 50 cm)
- Plywood Board 10 x 14 inches. (ca.25 x 35 cm)
- Craft Felt Piece 10 x 14 inches. (ca.25 x 35 cm)
- Staple Gun & Staples
- Spray Glue

Layer the cotton canvas, then the cotton batting, and finally the plywood piece on top, as shown in the picture above. Begin on the long side of the board and pull fabric and batting to the back side. Tack with three staples. Rotate the board to the opposite long side, pull fabric taunt, and tack with three staples. Fabric should be taunt but not stretched. Repeat steps with the remaining short sides, but do not staple to the end yet.

After all four sides have been secured, pull the corner batting piece to a point, and cut at an angle for a mitered edge. Repeat for the remaining corners.


Continue stapling along one long side of the board, stopping 1 - 2 inches from the corner, and repeat with the short side until there is a small "dog ear" left as shown in the picture below.

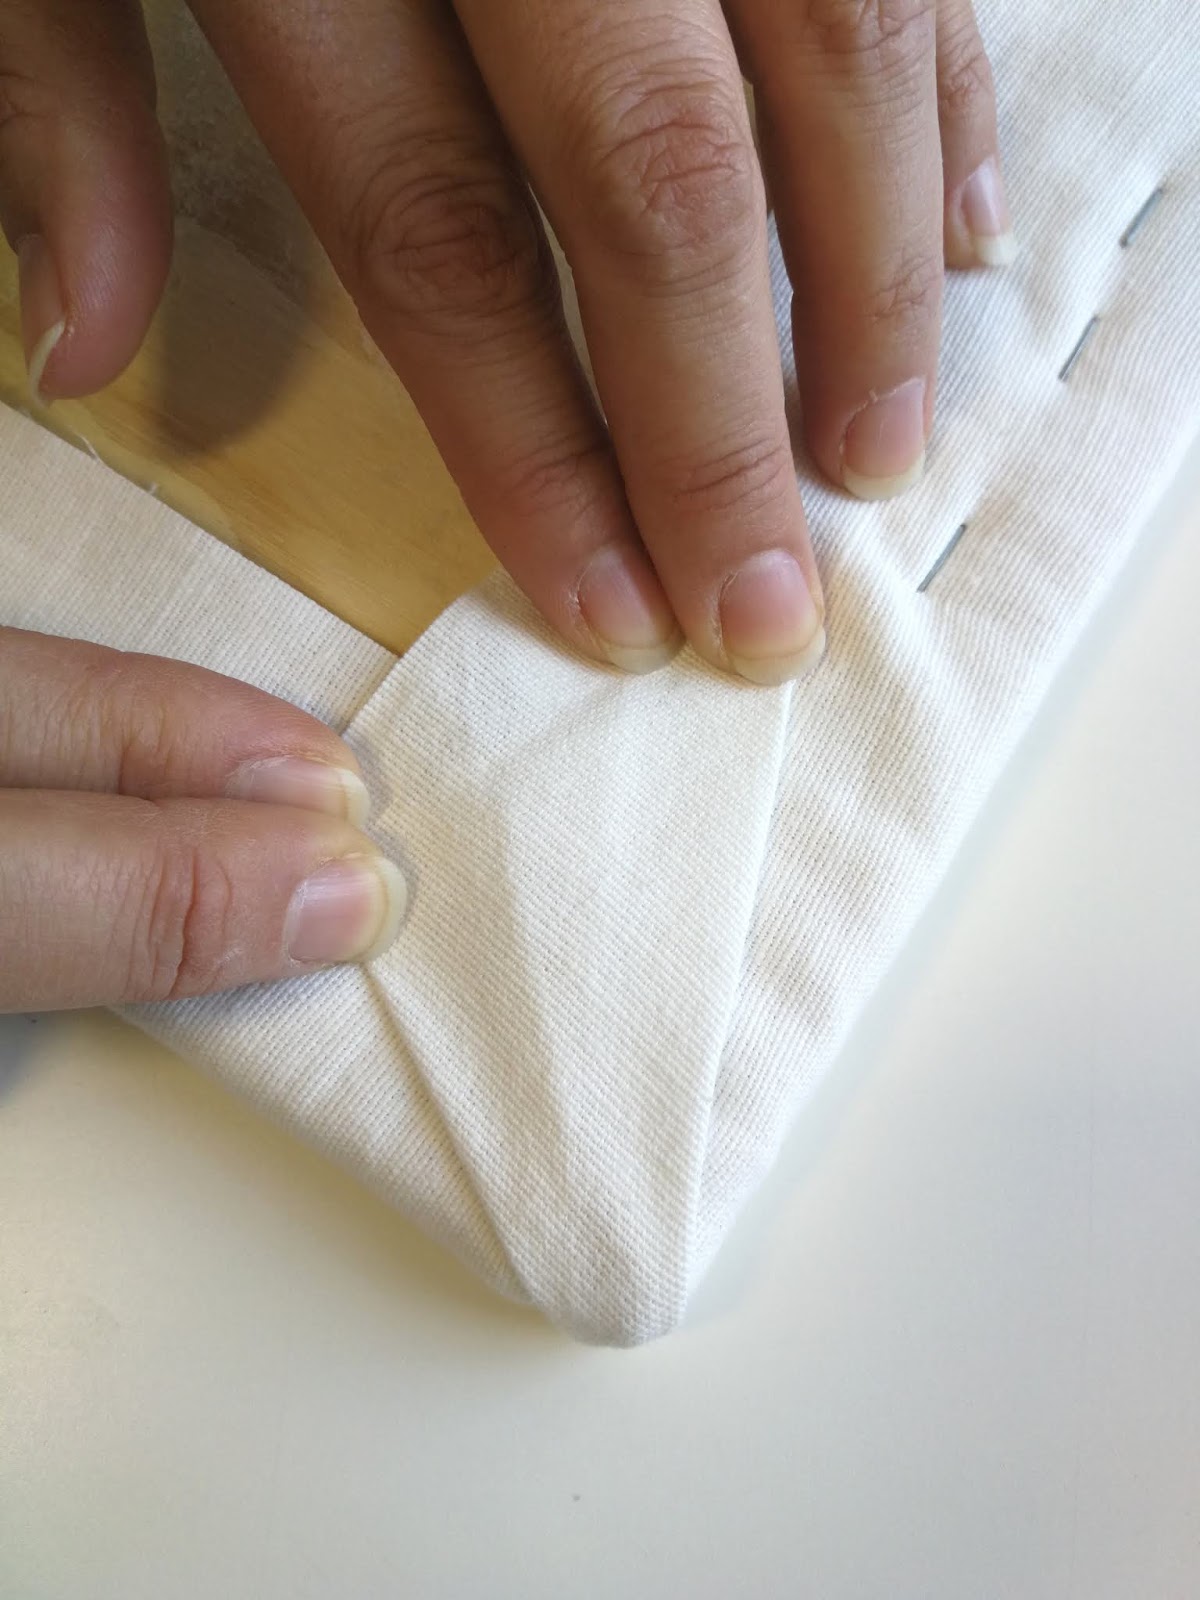
There are two ways that you can finish the corners, and it is simply a personal preference. The first is to pull the fabric down at an angle. The second is to simply fold it over as shown below. NOTE: Some prefer to also cut out the corners of the canvas fabric to avoid bulk, but my preference is to leave the fabric corners in.

Tack the corners in place. Repeat until all corners are finished. Cut any excess fabric as desired.


Finally, spray a generous amount of spray adhesive/glue to the back side of the felt piece. Position it on the back of the board. This prevents scratching from the staples when working on a table or other sensitive surface.

Now you're ready to go! Be sure to check out my YouTube channel for starch applique how-to videos, including tips on my favorite supplies!


