Showing posts with label applique quilt. Show all posts

Thursday, March 4, 2021

Bye, Bye, Butterfly Pattern Release + 20% SALE

Just this week I was sharing with my youngest son why spring is my favorite time of year. It’s always been thrilling for me to discover those first bulbs, bursting up through the dormant soil…the perfect shade of spring green that adorns foliage with the promise of new life – tender and delicate…the much-craved light and warmth from a sun that now lingers longer than in the previous winter months. More than anything, I think my love of spring has more to do with the feeling that it ushers in… a feeling of hopefulness that hovers thick. Winter is coming to an end.

With this in mind, it feels like it is perfect timing for the release of my latest pattern, “Bye, Bye Butterfly”. A butterfly is symbolic of change and transformation, and I hope that it invokes feelings of renewal, hope, and courage.

Starting today, save 20% off my latest quilt pattern, Bye, Bye Butterfly, as well as all my patterns in my entire shop! Just  enter the Sale Code: byebye. Sale ends Monday, March 8th, 2021!
 

"Bye, Bye Butterfly" is for the intermediate quilter, and combines applique, XXL applique, and reverse applique with simple paper piecing techniques. The oversized shapes are a good starting point, even for the experienced quilter who wants to try their hand at applique

Reverse applique is a fantastic way to eliminate bulk in an applique project, plus it's a fun way to incorporate accent fabrics.

... and with so many of my patterns, circle accents add just the right touch, don't you think? With the help of my video, "how to make the perfect circle using the starch applique technique", you'll be making circles like a pro in no time.

I love combining piecing techniques with applique, and a fun little row of flying geese, adds to the organic applique shapes.

The PDF pattern includes the full size templates, and a coloring page. There are plenty of illustrations, and even a brief explnaion of the starch applique method. Find all my patterns in my shop and get started on your "Bye, Bye Butterfly" quilt today!


Wednesday, October 28, 2020

HOW-TO: Stitching Applique BEFORE or AFTER Quilting?

At various times, people have been taken aback that I don’t applique per hand… ever. If we are laying it all out on the table, then you should know that I don’t even hand bind any of my quilts. In spite of my lack of affection for hand sewing, I am glad to have seen a revival of the slow stitching movement. I will never cease to be awed with the amazing work needle turn appliquers and English paper-piecing enthusiasts create… but when it’s all said and done, it’s simply not for me.

No matter what applique technique you prefer, let me tell you why the starch applique technique (turned edge) has become my method of choice, and one that I am obviously super excited about: because it allows me to make quilts that have the look of hand applique, without sewing by hand.

For me the applique is the fun part, but with the next challenge and big hurdle looming just around the corner: Umm... How do I quilt it now?!?

There are different approaches to quilting an applique project, so I thought it might be helpful to make a comparison, and share the pros & cons of stitching applique BEFORE or AFTER quilting. Be sure to read to the end where I share the How-To for stitching applique to an already quilted piece.

 
So, let's start out with the more commonly used approach, and look at what are the advantages and considerations to:

Stitching applique BEFORE quilting:

  • It's much easier to stitch and turn smaller, individual blocks under the machine, or even for that matter an un-quilted quilt top.
  • Since shapes are appliqued before quilting, a walking foot, or free motion foot can be used for quilting
  • Quilting around shapes adds loft to applique shapes.
  • Custom quilting highlights and showcases applique. 
  • Stitches are hidden inside the quilt, and cannot be seen from the back of the quilt.

Considerations

  • It can be a challenge to mark a continuous quilting design around the applique shapes.
  • It can also be a challenge to quilt around the shapes, especially if you are using straight line quilting or a uniform design.
  • Quilting over applique may not be desirable, which would be the only option if working with an edge to edge design.
  • If you are using custom quilting services, it is more expensive to have custom work from a free motion longarm quilter.

So, how does this compare to:


Stitching applique AFTER quilting

  • Quilting designs can be more easily marked before adding applique shapes, thus the design is continuous, taking the challenge out of keeping the quilting design aligned.
  • Do not have to quilt around applique shapes, which would be similar to "whole cloth" quilting.
  • An edge to edge quilting design can be used WITHOUT quilting over the applique shapes.
  • If you are using a longarm quilting services, this saves on quilting costs.
  • Can be appliqued per hand (if desired).
 

Considerations 

  • When adding the applique shapes to a finished & quilted top, there is extra bulk when working under the machine since it is already quilted.
  • Depending on the size, it can be challenging to turn an already quilted quilt under the machine a lot when stitching applique.
  • Usually an open toe foot is used for stitching applique, which means that applique shapes are sewn on a quilted top without the aid of a walking foot. 
  • Tension issues have to be taken into consideration with additional layers, ie. batting, backing, quilt top.
  • Stitches can be seen from the back, which are usually hidden in the quilt.
  • A solid fabric instead of a pieced backing may be more desirable since stitches are seen.
  • You lose a little bit of loft behind the applique shape because the batting under the shapes has already been quilted.
  • It may not be feasible to machine stich small applique shapes after a quilt has been quilted.

 
But when deciding to applique before or after quilting, it is essentially an economizing question by asking… what are the most important elements for me for a finished quilt? That stitches are hidden? That there is loft behind the applique shapes? That the quilt is finished faster? That time and money are saved during quilting? What kind of quilting do I prefer – custom quilting that is artistic and highlights the shapes? or an all over design that is subtle and takes a backseat? I would even argue that all these things come down to a matter of taste.

I recently reached out to Rachel from Stitched in Color to ask her if it would be possible to quilt my most recent Fly High, Dragonfly quilt, and set the parameters so that the flying geese tail would be left unquilted. She uses a Gammill Statler, which is a computer-guided longarm machine. The designs that she uses are digital downloads, and Rachel is able to adjust the scale, change proportions or edit details on the computer monitor. She shared with me that the process of quilting is not actually hands-off.  She has to periodically give the machine fresh bobbins, reposition the quilt to expose new areas to the needle, make sure the pattern remains properly aligned and troubleshoot any issues with thread tension, etc.  


So, now that my piece is quilted, let's get down to The HOW-TO of stitching applique AFTER quilting. Here's what you'll need:

Supplies/Tools

  • Finished quilted top
  • Applique glue
  • Pins
  • 70 weight needle
  • Monofilament /Invisible Thread (Aurifil)
  • Open Toe foot
  • Knee lift


Before Starting: Stitch Options


Straight stitch:  I would actually suggest to use a straight stitch for applique that is stiched beforehand, rather than applique that is stitched to an already quilted top. The reason is that when using a straight stitch to stitch applique shapes to an already quilted top, then the quilting affect is on the shape instead of shadowing it. Usually one would quilt around the shape instead of on it. It can be done, and again, it depends on what things are important to you with a finished quilt.
 

Blind stitch: For me, the biggest advantage of using a blind stitch is that it gives the appearance of a hand-quilted look. The stitches are not as visible as with straight stitches. When using a high-quality monofilament (invisible) thread, it is barely noticeable when transitioning from one color to the next. Hands down, my favorite invisible thread, and the one I use for all my projects is from Aurifil. It is fine, yet does not easily break, and I have never had any issues with ironing, which some cheaper versions can be notorious for.

Machine Settings for Blind Stitch:


If you have never used a blind stitch before, then let me give you a short introduction: A blind stitch is usually used for hemming garments when it is more desirable that the stitches are not seen. It sews several straight stiches, which are beside the fold or applique shape, and one “zig-zag” stitch that comes over and takes a “bite” to hold the fabric in place.


Before getting started, if you are using a larger machine like I am, it’s important to change out your stitch plate. Usually I am using an open toe foot for a blind stitch, and the stitch plate needs to accommodate the zig-zig movement.


When using a blind stitch, it is important to change a few settings. With every machine, the settings will be different, so it is a little bit of trial and error when deciding on length, width, and tension settings. With this in mind, I would suggest to practice on a few samples before moving to your project. Here are a few things that you will need to adjust on your machine:
 

  • Stitch Length: By shortening the stitch length, the zig-zag “bites” come closer together. Since it is the “bites” that hold the applique in place, when they are closer together, there are more to hold the shape in place.

  • Stitch Width: Your stitch width will determine how wide your “bite” zig-zag is. This will determine how narrow or wide the “V” that secures your applique shape. I prefer a narrow width so the stitch is barely seen.  

  • Thread tension: This setting is a pretty important setting to change, as you are sewing on an already quilted quilt. I lower the thread tension even more when stitching on an already quilted piece than I would if I were only stitching applique on a block or a quilt top. Usually for blocks, I will lower the tension to 1.0, and for stitching applique on an already quilted piece, I will lower it to 1.5. If your applique shape looks a little "pulled", then you may need to lower the tension even more.


Once you have your machine settings in place, let's move on to thread: When using a monofilament thread, remember that it is for the top thread ONLY. While there are some quilters that use an invisible thread for the top and bobbin threads, I prefer to keep it only on the top.
 
 
For the bobbin thread, a standard thread is sufficient. Because you are working with two different types of thread, AND sewing on an already quilted piece with additional layers, that's why it is important to stress again, to adjust the thread tension to accommodate for this.


Adding the applique shapes:

When I am working with extra large applique, I will work with the quilt top (or quilt in this case) on my design wall. I am able to check placement much easier when the surface is flat, and I can look at it from a distance. This way I am also able to pin the shapes in place before gluing them. I started by gluing the bottom wings in place, and then moved to the sewing machine. When I glue extra large shapes, I will glue it in sections, and then pin the glued section so it stays in place before moving to the next section.

If you have never worked with a knee lift, this is the point where I always suggest to try it out. With the smaller shapes like the circles, I end up turning the quilt a lot under the machine, and it's a huge advantage to be able to be able to turn the quilt so often - hands free!

When using a blind stitch, I will change to my open toe foot so I can sew along the side of the applique shape, and see where the blind stitch will come over and catch. The stitches beside the shape are your straight stitches, and the zig-zag that comes over are your securing stitches. Be careful that the straight stitches are beside the applique and not on it. Only the zig-zig bite should be coming over on the applique shape.

For this quilt, I actually stitched the stems, leaves, and flowers on the lower wing unit before I stitched the entire wing to the quilted piece. After the wings were stitched in place, I then went back and shadow quilted around the applique shapes to add additional quilting and secure the large shape in place without shifting later. Here is a short video, where I talk about the process for stitching applique BEFORE quilting. When stitching applique after quilting, the concept is essentially the same, with the biggest adjustment being in the tension settings.


When using a thread color that matches the quilt back fabric, the stiches are barely noticeable. This could possibly be considered a "con" to stitching the applique after quilting, but since you really have to look to find the stitches, I'm not ready to fully put it in that category.
 
 
So what's your take... stitching applique before or after quilting? Ready to give it a try? Since I love the idea of combining more complex quilting designs with my applique, I will definitely explore this option again.


Be sure to stop by Rachel's blog as she is comparing the two approaches from a longarm quilters aspect. She always has such insightful input on quilting projects.

Wednesday, April 1, 2020

Fly High, Dragonfly


Last week, I shared a very emotional post on Instagram. Essentially putting into words a mixture of trying to sort out my feelings about the current events that are happening in the world, and finding the balance of moving forward in the midst of the storm. 

Since the planned release date for my Fly High Dragonfly quilt was perfectly positioned in the eye of the storm, I found myself asking the questions... how do I just carry on as if nothing has happened?... what does one do in the midst of a crisis? Retreat to our caves? make lemonade out of lemons? turn our focus to the good and simple things of life? search for the things that distract us from reality?...

AND let me tell you... I was totally overwhelmed and touched by the responses that I got!?! Such encouragement for moving forward with the pattern release in spite of the current situation. That beauty and inspiration is actually what helps us cope... that  a sense of normalcy settles fears... that creativity is an outlet that brings joy...

When I make a quilt, I find that what comes out is often a reflection of what’s in my heart at the time. And usually when I reflect back and do a little digging, I find that what I’ve created matches what I had been processing in that season of my life. With that thought in mind, I decided to find out more about this amazingly beautiful and fascinating creature…the dragonfly.


In almost every part of the world, the dragonfly symbolizes change & new beginning, living life to the fullest, transformation, adaptability, and self-realization. They are also often associated with courage, strength, hope, and happiness. All things that are so fitting and needed for this time in all of our lives.


Since so many had shared that a semblance of normalcy, opportunities to be creative, and busy hands help with processing, dealing with, and coping with what is going on right now, I decided to move forward with releasing my Fly High dragonfly pattern. As with all my new releases, I will offer a 20% discount, with the SALE CODE: dragonfly. Sale ends the day after Easter, April, 13, 2020.


If you decide to purchase my pattern at this time, my desire is that with each stitch, perhaps this pattern reaches you in those ways. I hope that no one misunderstands that by releasing my pattern that I am simply going about business as usual, but that it is more of an attempt to be a part of helping others find the joy and therapy in being creative.

Tuesday, March 3, 2020

"A" Is For Apple - The Granny Smith Edition


For the longest time I couldn't get my boys to eat very many apples. Somehow, it has usually been my husband that always put the apples in the shopping cart, and of course he picked his favorite... red. It wasn't until I started picking up a few apples for myself, that I realized that my boys, like me, prefer a sour and tart tasting apple... like the lip-puckering, Granny Smith!


You may remember a long time ago I shared my first apple quilt. I hadn't really made it with the intention of turning it into a pattern, but simply because a creative spark was lit, and I just had to get it out... and I have to say that I'm glad that inspiration hit me in this way. It was making this XXL apple that kind of got the ball rolling for some of my other XXL patterns.


But this Granny Smith was essentially started because I had to then remake the quilt in order to "test" and see if all my ducks were in a row. Because I had not intenailly made the first quilt for a pattern release, I hadn't made notes and changes like I usually would when I move to the writing process... I am usually tweakign and making little changes to a pattern as it's been made the first time around.


Since I had already quilted my first apple with reapeating shapes from the pieced side, I decided that I wanted to try something different for the quilting. I just love to use orange peels in my applique, and why not for quilting too? It might be a bit of a surprise to know that I actually quilted this with my walking foot. I have to admit that I am still not comfortable with free motion quilting. Too often I find myself almost feeling the need to apolgize about that. On one hand I want to push myself, but on the other hand, it can be nice to set up camp in your comfort zone. 


For the rest of the quilting, I stuck with straight lines, but in a slightly different pattern than the red apple. It's always fascinating when a quilt tells you when it's ready to change the direction of it's lines.


For this second version, I also decided that I wanted to do a two-leaf, second-stem version as an alternative layout option. Just like real apples - some like the red ones, and some like the green, it's a bit the same with the leaves. It's been really interesting for me to see that most of my pattern testers have picked the two-leaf version too!


A while back I was able to snap up several yards of Carolyn Friedlander's Ledger fabric. From the beginning of this quilt, I knew I wanted to use this for the backing and espeically the binding of this quilt.


I am finding myself more and more picking a subtle and hardly noticable fabric for the binding. My way of thinking is that I want the fabrics and focal point of the quilt to be the first part that you see, and the binding is the secondary discovery that you find when you look a little closer.


So are you ready to delve into a little juicy, XXL applique deliciousness yourself? My "A" Is For Apple pattern releases this Thurday, March 5th! Keep your eyes open for my second post this week!

Quilt: Pattern: "A" Is For Apple, self design
Started: August 2019
Fabrics: Basic Grey Grunge fabrics, Cotton & Steel, Kona cotton white
Finished quilt size: ca. 42" x 46" in. (ca. 106  x 116 cm)


Wednesday, June 6, 2018

Yellow Stars & Applique Blocks


Some of my bee members like to make fun of me that by the time I deicde on a quilt block, and make up a couple test blocks, that the quilt is almost finished. Well... not quite. Yes, I've made a good amount of progress on my yellow quilt, but am no where near being finished. My bee members will be pleased to know that I am stopping with stars now, and passing the torch for them to carry.


As I had mentioned last week, it is my intention is to keep the applique blocks fairly simple and not get slowed down by such labor intensive blocks... you just can't find any simpler applique shapes than stems, ovals, and orange peels. I've always been really drawn to crossing applique designs.


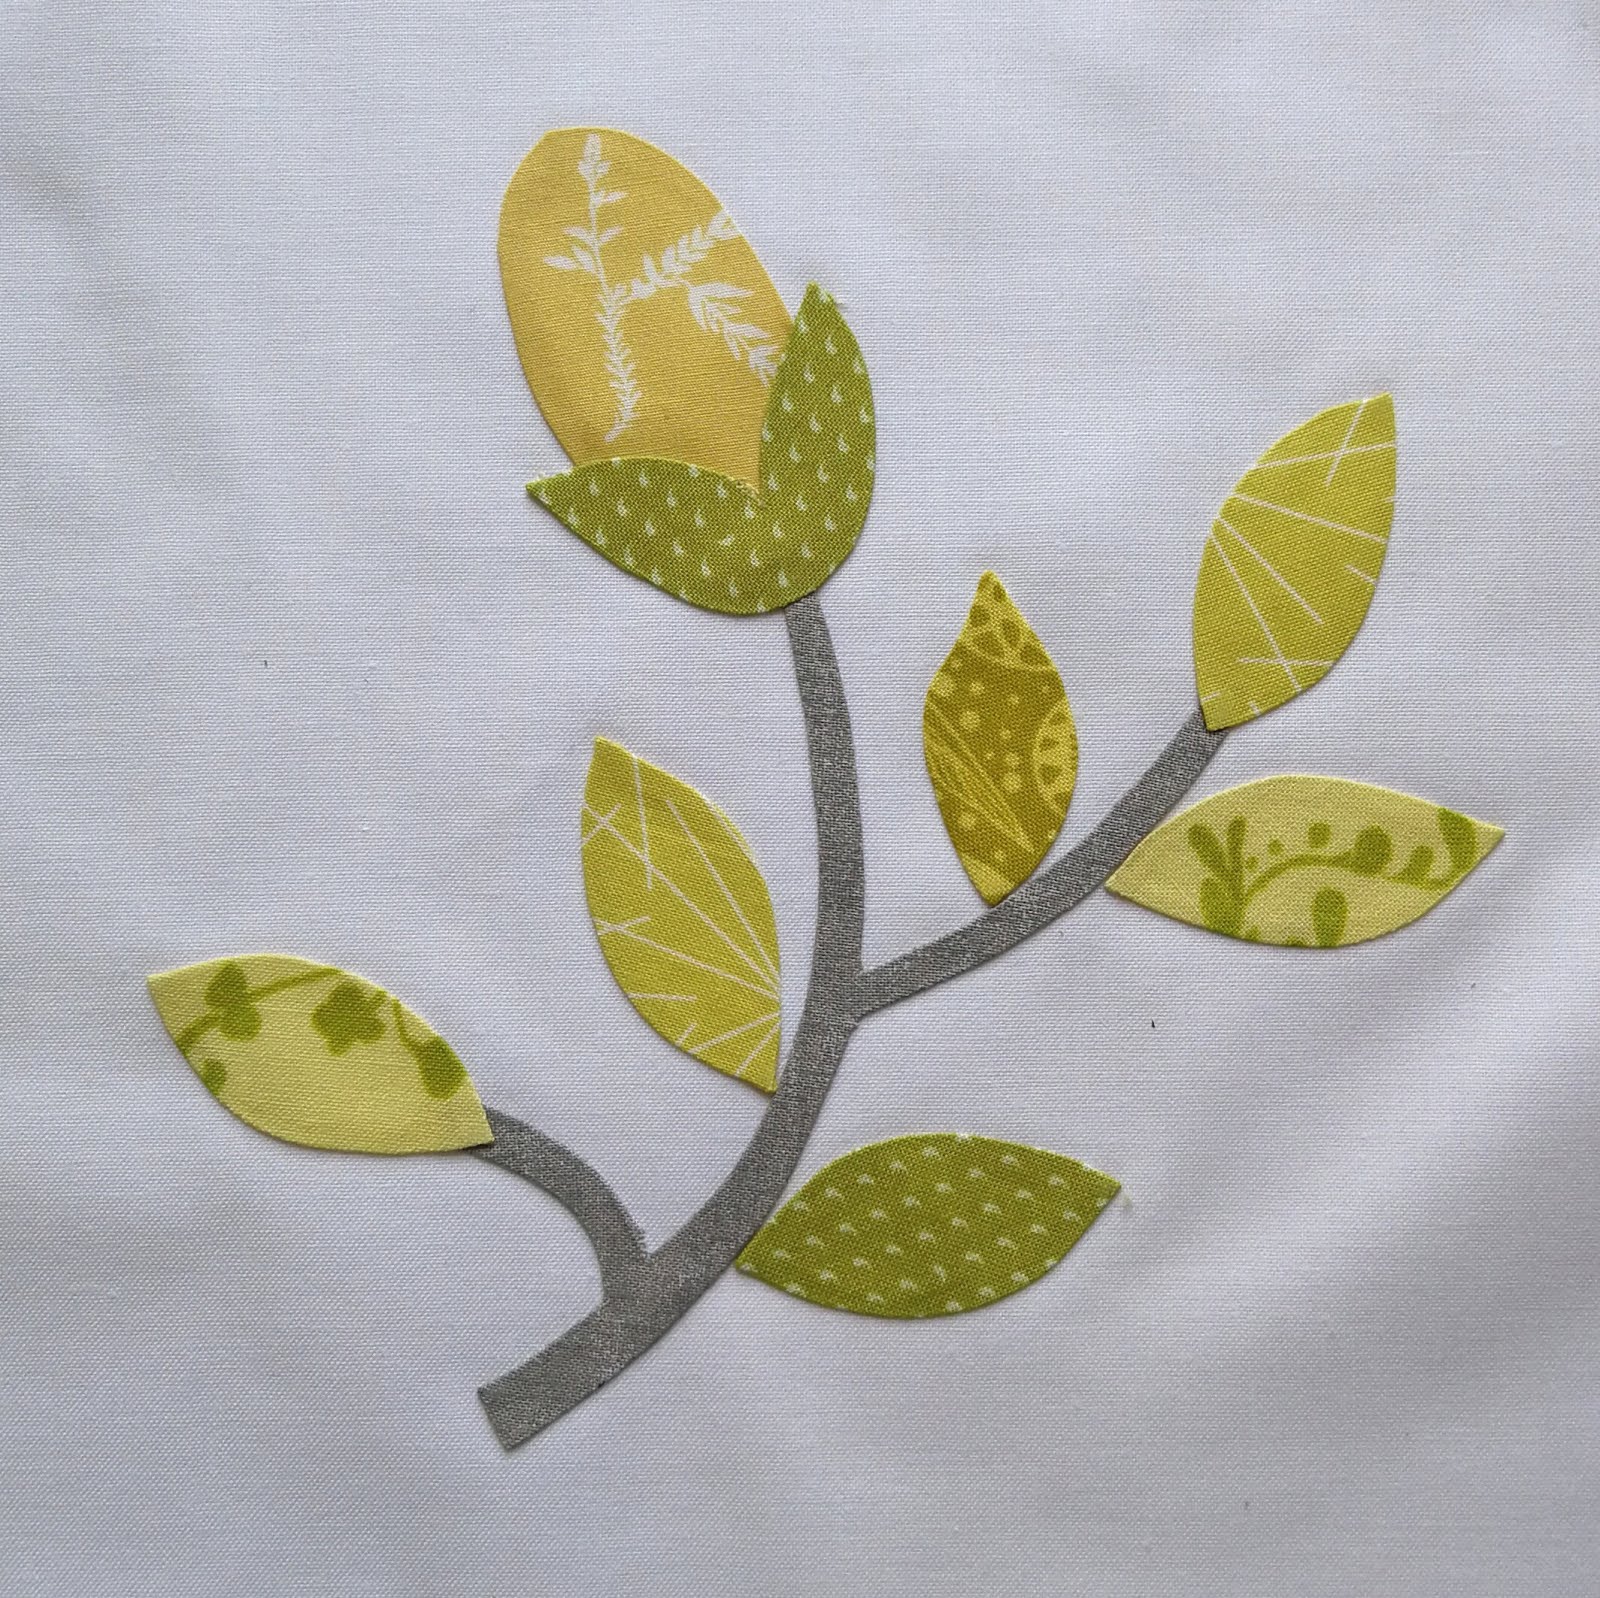
Here is another Chuck Nohara mix up... I used the stem template, but instead of the multi-pieced flower as in the original, I used simple leaves with a oval accent.


I love the curved crossing stems from this Chuck Nohara block... see if you can spot the original design from my summer garden blocks. No worries, I've not forgotten this project... it's coming back out for summer! It is my travel applique project, and I can't wait to work on it again.


What are you summer sewing plans? Take it with you applique? EPP? or lifting a cold drink as you relax in the garden?

Wednesday, May 30, 2018

Auditioning (Possible) Bee Blocks


For me it's that time of year again... where I find myself searching, scrambling, debating, back and forthing, all just to find the perfect pattern for my bee blocks... only to be left with that feeling of well, I'm-still-not-sure. I've had it in my head now for a while that I would like to do a yellow quilt (or even green) I love the simplicity of a two color quilt.


One of my biggest back and forth issues is that I want to do a bucket list project... right now on my to-do list are more time intensive or advanced blocks like a double wedding ring, an elaborate applique quilt, or a 100 pieces foundation paper pieced block... and that's not exactly what you throw at fellow bee members.


But I had the idea to do a quilt where I do the applique blocks, and my bee members do the piecing. Usually a more time intensive block utilizes ones bee members a little better, but it just appeals to me to have a simple color palette, with simple applique, combined with simple stars. Here is my original inspiration. So for my first applique block, I modified the leaves a bit on this EQ8 block.


Chuck Nohara blocks are generally a little more labor intensive, and my idea was to keep it simples with leaves and sprigs applique blocks. Even though I've done this block before, I wanted to include it  because it's just a few simple pieces.


Here is another block that I found on EQ8, and I've always been drawn to crossing designs. I love the way this Cori Dantini fabric works with the Basic Grey Grunge yellow... I'll be using these a lot throughout this quilt.


What is an applique quilt without including a perched pair on a vine. Here are actually the birds from my Lovebirds Garden pattern, and I simply reduced them in size to fit on this 8" block.


I'm not sure if my colors are too specific, or if these are colors that my members can find in their stash. Who knows, I just might surprise everyone and go a totally different direction... just to keep everyone one their toes...


... kind of makes things more intereting, doesn't it? 
 
Related Posts with Thumbnails